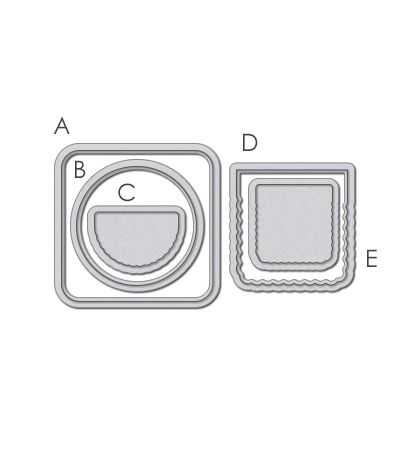
But I think it looks different and creative enough to make all the headache worthwhile. The trick is to cut just far enough to create the sticking out "label" but not so far that you actually cut out the entire shape. In case you want to try this too, here are the steps (images below):
- Line up the die correctly on your card. Fix it in place with some low tack tape and also draw a thin pencil line that marks where your cutting plates need to be. Line your paper up on the bottom cutting plate, with the die on top of the cutting plate, but only as far as to the pencil line.
- Place the second plate on top, but again – only as far as the pencil line goes. Basically, the smallest part of your card is between the plates, and most of your card isn't even inside of the sandwich. Make sure that the top border of the die is not between the cutting plates because you want to partially die cut, not completely.
- Use a crafting knife, a cutting mat, and a good stable ruler to cut along the pencil line to get rid of the bottom part of the card.
- Done!
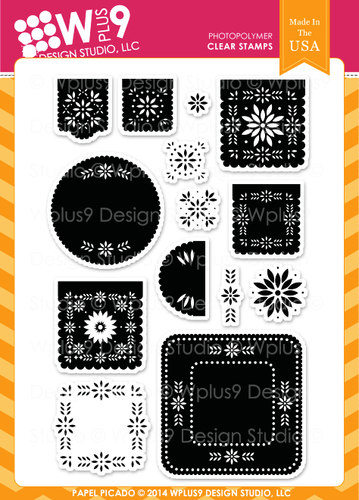
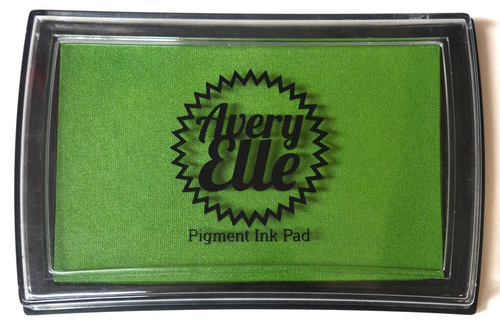
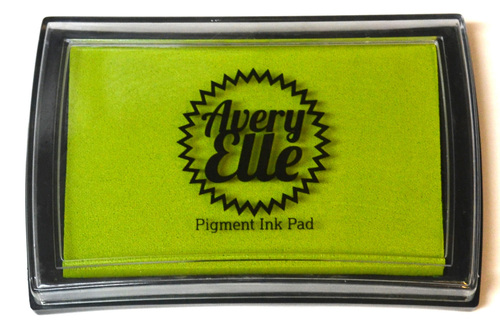
Once that is done, the rest was easy. I used some of the smaller stamps from the Papel Picado stamp set to create the pattern. I didn't draw any guidelines, just started in the middle and worked my way across the card. Since I was using pigment inks from Avery Elle (currently OOS, sorry!!), I just needed to make sure I wasn't touching the just stamped images (pigment inks need a while to dry).
On the inside, I used a Versa Gold Ink and also one of the little stamps from the same stamp set. I intentionally skipped the green here because I wanted to have some contrast so the recipient of the card would see immediately that it would open there. To increase the contrast between the outside and the inside, I smushed my ink pad onto some white card stock, then cut a thin stripe and glued it to the bottom of the front.
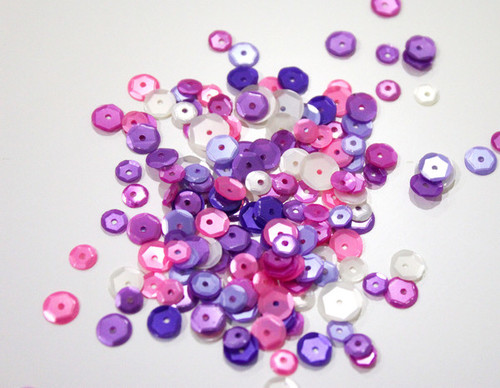
For the finish, I die cut the Hand Lettered Thank You, also from Wplus9, multiple times from white card stock and then used Glue 'n Seal (like Multi Medium Matte) to stick them all together. I prefer the matte glue because you can have boo-boos and no one will ever know. I added some white Wink of Stella brush and then coated the thick sentiment with glossy accents to trap the shine. And of course, this card wouldn't be finished if not for some sequins.
I hope you enjoyed today's card and it will make you look at your dies in new creative ways. Cheers!



No comments:
Post a Comment